In previous blog posts, I mentioned that AWS services are dependent on each other, which makes it difficult to decide in which order to present them.
The big star of AWS, the one that all tutorials mention, is EC2, so we’ll start there. This will be fun!
Let’s see a funny meme and then jump right into it!

EC2 — Elastic Compute Cloud
Instance Types, Pricing Models, and a Hands-on example
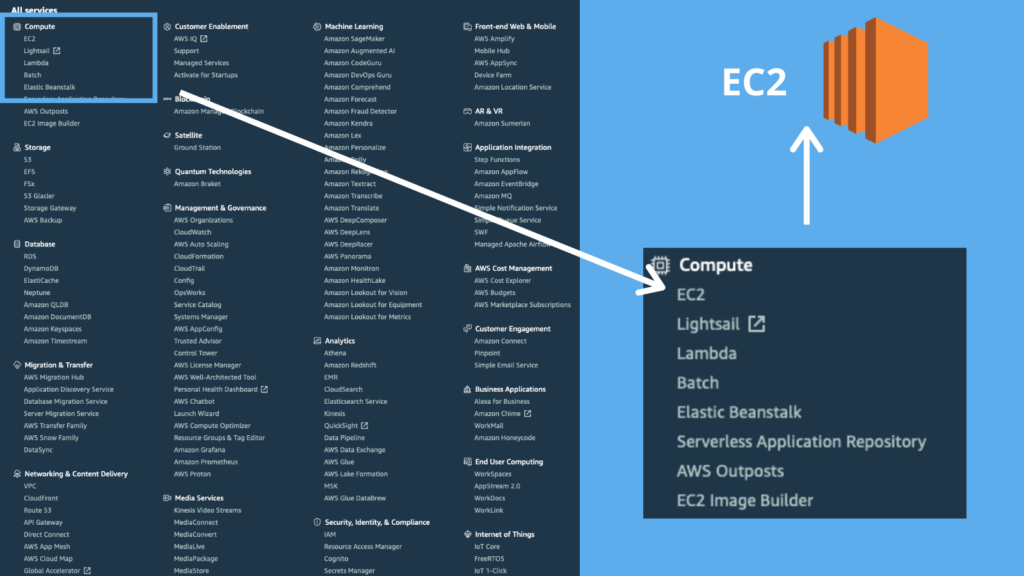
Elastic Compute Cloud (EC2) is a virtual server in the cloud. Amazon EC2 reduces the time required to obtain and boot new server instances to just minutes, allowing you to quickly scale capacity, both up and down, as your computing requirements change.
A common mistake is to think that EC2 is serverless. Actually, EC2 is a compute-based service, which means it’s a server! So it’s not serverless.
Note that you should always design for failure and have one EC2 instance in each AZ. Remember what AZ is? We talked about it in the first blog post.
EC2 Instance Types
Amazon EC2 provides a wide selection of instance types optimized to fit different purposes. Instance types comprise varying combinations of CPU, memory, storage, and networking capacity and give you the flexibility to choose the appropriate mix of resources for your applications.
The instance types divide into 5 groups:
- General-purpose
- Compute Optimized
- Memory Optimised
- Accelerated computing
- Storage Optimised

Let’s look at the meme above as an example:
Here are the specs of the two types, which are both under general purpose:
Type     | vCPU* | Mem(GiB) | Storage  | Network
m4 large |   2   |    8     | EBS-Only | Moderate
t2 large |   1   |    8     | EBS-Only | Low to Moderate
Well, it looks like m4 large is better, so why would the guy look at t2 large? Apparently, it’s because of its burstable compute units, which are more suitable for his project. Click here if you want to read more about it, and click here if you want to read more about EC2 instance type.
Now, let’s talk money!
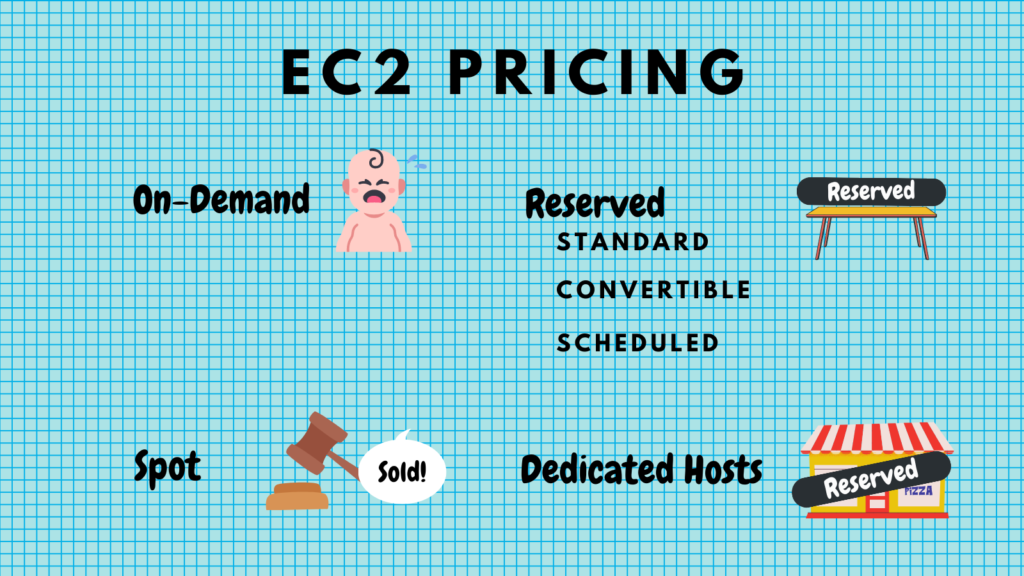
EC2 Has Four Pricing Models
- On-demand: This allows you to pay a fixed rate by the hour (or by the second) with no commitment.
- Reserved: Provides you with a capacity reservation, and offers a significant discount on the hourly charge for an instance (like booking a hotel room a year in advance). Contract terms are 1 year or 3 years terms.
- Spot: Enables you to bid whatever price you want for instance capacity, providing for even greater savings if your applications have flexible start and end times.
- Dedicated hosts: A physical EC2 server dedicated for your use. Dedicated hosts can help you reduce costs by allowing you to use your existing server-bound software licenses.
Let’s dive deep and see when we should use which:
1. On-Demand pricing is useful for:
- Users that want the low cost and flexibility of Amazon EC2 without any up-front payment or long-term commitment.
- Apps with short-term, spiky, or unpredictable workloads that can’t be interrupted.
- Apps being developed or tested on Amazon EC2 for the first time.
2. Reserved pricing is useful for:
- Apps with steady-state or predictable usage.
- Apps that require reserved capacity.
- Users who are able to name upfront payments to reduce their total computing costs even further.
Reserved pricing types:
- Standard Reserved Instances: These offer up to 75% off on-demand instances. The more you pay upfront and the longer the contract, the greater the discount.
- Convertible Reserved Instances: These offer up to 75% off on-demand capability to change the attributes of the RIas long as the exchange results in the creation of Reserved Instances are of equal or greater value.
- Scheduled Reserved Instances: These are available to launch within the time windows you reserve. This option allows you to match your capacity reservation to a predictable recurring schedule that only requires a fraction of a day, a week, or a month.
3. Spot pricing is useful for:
- Apps that have flexible start and end times
- Apps that are only feasible at very low compute prices
- Users with urgent computing needs for large amounts of additional capacity
- If the spot instance is terminated by EC2, you will not be charged for a partial hour of usage. However, if you terminate the instance yourself, you will be charged for any hour in which the instance ran.
4. Dedicated Hosts pricing is useful for:
- Regulatory requirements that may not support multi-tenant virtualization
- Licensing which doesn’t support multi-tenancy or cloud deployments. Tip: any question that talks about special licensing requirements — talks about dedicated hosts!
- Can be purchased On-Demand (hourly)
- Can be purchased as a Reservation for up to 70% off the On-Demand price
EC2 Hands-on: Creating an EC2 instance and connecting to it
When you want to launch a new EC2 instance, you’ll need to configure some things:
- Region: because this is a per region service.
- Amazon Machine Image (AMI), which provides the information required to launch an instance.
- Instance type: The t2.micro is under the free tier
- add storage — EBS — We will talk about this in more depth soon.
- Security Group — A security group acts as a virtual firewall for your EC2 instances to control incoming and outgoing traffic. 0.0.0.0/0 everything, W.X.Y.Z/32 allows only 1 IP address.
Incoming and outgoing traffic is controlled by ports. Ports are the way computers communicate: as eyes see, ears hear, so it works with ports: Linux through SSH (port 22), Microsoft through Remote Desktop Protocol (protocol 3389), HTTP through port 80, and HTTPS through port 443.
After you click launch, it will create a key pair, which allows us to log into our EC2 machine. After downloading the key pair file MyPrivateKey.pem , you need to change permissions on it with:
chmod 400 MyPrivateKey.pem
Now you can connect to the ec2 instance through the CLI by typing:
ssh ec2-user@34.229.236.39 -i MyPrivateKey.pem
Don’t worry! We will talk about connection through the CLI soon!
Important note! If you get a timeout you should check the Security Group permissions!
EBS and Storage Options Comparison
Previously, in the hands-on example of the EC2, there was this part:
Add storage — EBS — We will talk about this in more depth soon.
Soon is here!
But before we go over the AWS TLA (three letters acronyms), let’s start with the simplest storage option: Instance Storage.
Instance Storage
Some Amazon Elastic Compute Cloud (Amazon EC2) instance types come with a form of directly attached, block-device storage known as the instance store. The instance store is ideal for temporary storage, because the data stored in instance store volumes is not persistent through instance stops, terminations, or hardware failures.
EBS: A Virtual Disk in The Cloud
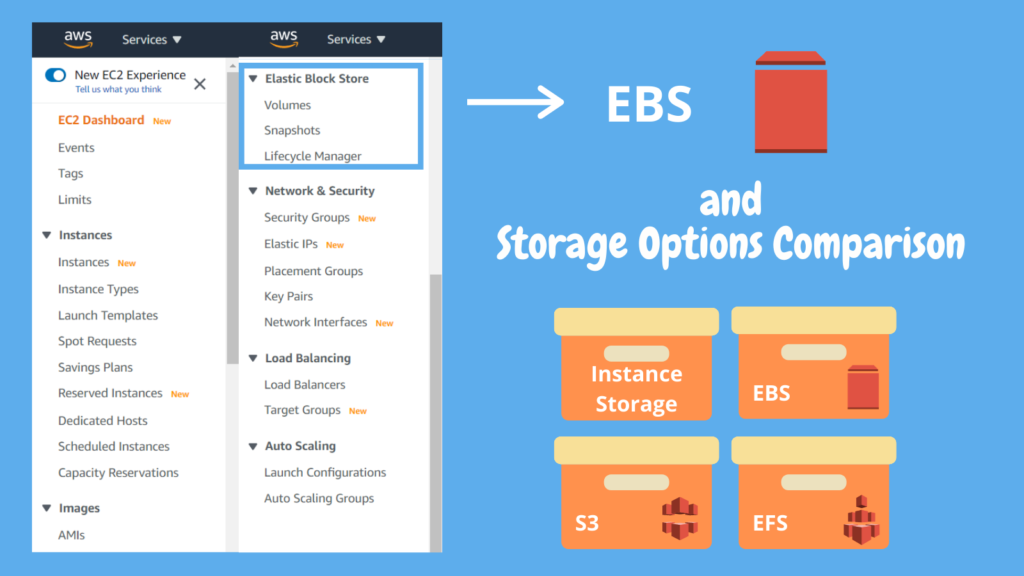
Inside the EC2 service, you will see a tab saying Elastic Block Store.
EBS allows you to create storage volumes and attach them to EC2 instances. Once attached, you can create a file system on top of these volumes, run a DB, or use them in any other way you would use a block service. EBS volumes are placed in a specific AZ, where they are automatically replicated to protect you from the failure of a single component.
EBS Storage Types
SSD:
- General Purpose SSD (GP2) — balances prove and performance for a wide variety of workloads.
- Provisioned IOPS SSD (IO1) — Highest-performance SSD volume for mission-critical low-latency or high-throughput workloads.
Magnetic:
- Throughput Optimised HDD (ST1) — Low-cost HDD volume designed for frequently accessed, throughput-intensive workloads.
- Cold HDD (SC1) — Lowest cost HDD volume designed for frequently accessed workloads (File Servers).
- Magnetic — previous generation.
S3 vs EBS vs EFS Comparison
Well, before we compare them and see their differences, let’s open those three letters acronyms.
S3 = Simple Storage Service
We learned about S3 in a previous blog post, so here is a very short summary:
S3 provides developers and IT teams with secure, durable, highly scalable object storage. Amazon S3 is easy to use, with a simple web services interface to store and retrieve any amount of data from anywhere on the web.
- S3 is a safe place to store your files.
- It is object-based storage.
- The data is spread across multiple devices and facilities.
EFS= Elastic File Storage
Great for file servers. Multiple ec2 instances can access the same store.
EFS is a file storage service for EC2 instances.
It’s easy to use and provides a simple interface that allows you to create and configure file systems quickly and easily.
S3 vs EBS vs EFS
- S3 is used for storing flat files (objects), like pictures, documents, videos, etc. You do not install an operating system or DB for it.
- EBS is a virtual disk that can be attached to EC2. The size of the disk can be changed, but it’s not done automatically.
- EFS is a virtual disk that can be attached to EC2, and the size of the disk is elastic (scaling up and down depending on usage).
Elastic Load Balancer
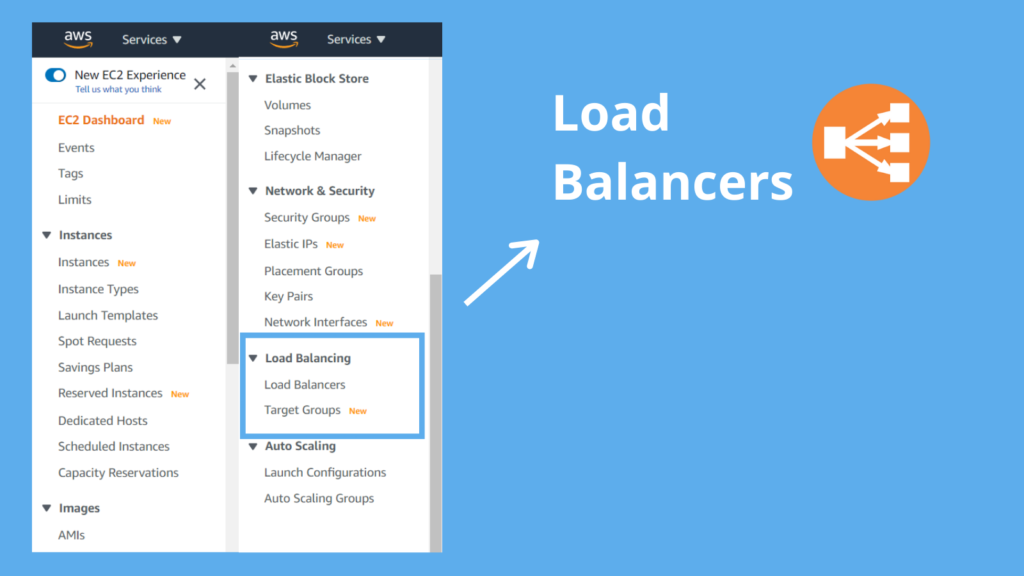
Elastic Load Balancing automatically distributes incoming application traffic across multiple targets, such as Amazon EC2 instances, containers, IP addresses, Lambda functions, and virtual appliances. It can handle the varying load of your application traffic in a single Availability Zone or across multiple Availability Zones.
When you click on Create Load Balancer you will see there are 3 types (well, now there are 4, including Gateway Load Balancer, but it’s not mentioned in any course):
- Application LB (ALB)— Application-aware, which means it can see into Layer 7, and make intelligent routing decisions.
- Network LB (NLB) — For when you need ultra-high performance and static IP addresses.
- Classic — V1, slowly getting phased out. Good for tests and development, or for keeping the costs low.
The Load Balancer configuration contains:
- Security Groups, which we mentioned before.
- Target Groups, which are the groups of EC2 instances it balances.
- Health Checks, with which your Load Balancer assures the instances are healthy and replace them if not.
Auto Scaling Groups
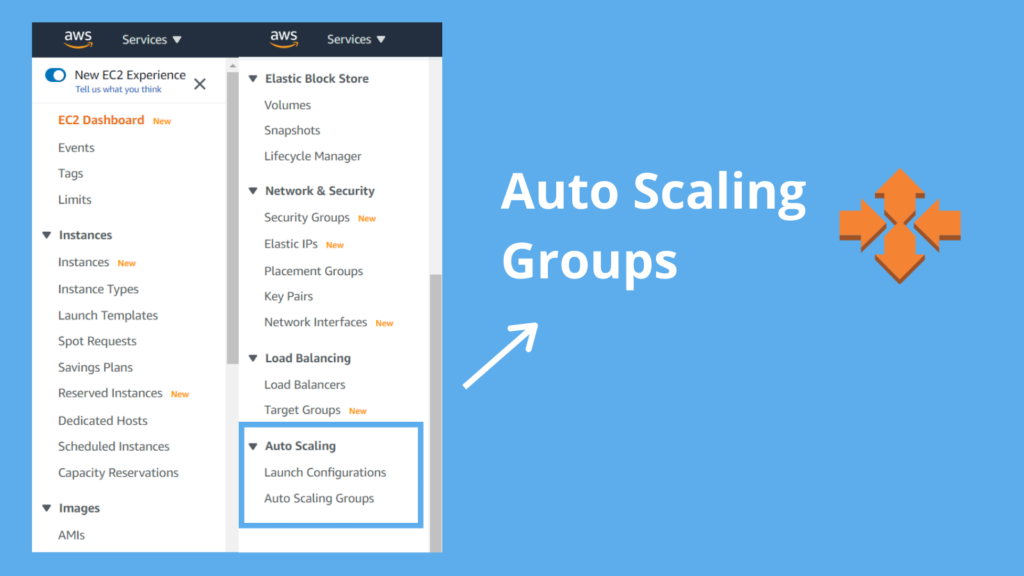
Let’s start with the problem and then see the solution. Considering that:
- ALB is by default redundant so spread across multiple AZs.
- Let’s say we have a DB. as you will learn in the next blog post, we have our primary DB and Secondary DB in another AZ.
- we have one EC2 instance.
So our problem is that the EC2 instance is our single point of failure.
The solution is Auto scaling groups. ASG is a group of EC2 instances that scale in/out based on the load, or on health.
Based on load means keeping many instances when there is much traffic and removing instances when there isn’t much traffic.
Based on health means that if one of your EC2 instances is down (= doesn’t pass health check) — your ASG will create a new one to replace it.
In the AWS console, under Auto Scaling there are 2 tabs: Launch Configurations and Auto Scaling Groups. you can’t create an ASG without a Launch config. Launch config uses AMI (amazon machine image), which is a screenshot of the EC2.
Using The Command Line
We had a sneak peek for it in the EC2 hands-on, with:
ssh ec2-user@34.229.236.39 -i MyPrivateKey.pem
And now we’ll understand how it works!
Interacting with AWS can be done in 3 ways: AWS Console, CLI, and SDKs. SDKs (Software Development Kits) are a way to communicate with AWS through code, and it’s out of the scope for this blog post.
Connecting to the EC2 instance through the AWS console is pretty straight forward: ec2->instances->click on it -> connect.
But how do you connect through the CLI? This is where we revisit the IAM service from the previous blog post!
How To Enable Communication Through CLI?
- AWS Console-> IAM
- Create a user and give them administrator access.
- Go to users-> click on your user-> security credentials -> access key -> download.
You only get access to download the access key once, so if you lost it, you can deactivate and delete it, and then create a new one. - Type in the CLI:
ssh ec2-user@34.229.236.39 -i MyPrivateKey.pem
MyPrivateKey.pem is the security credentials file you downloaded!
Configure Communication:
AWS communication through the CLI: aws <SERVICE>
for example: aws s3 mb s3://cupofcodeblog to create a new bucket
But if you try that, you’ll get the error:
make_bucket failed: s3://cupofcodeblog unable to locate credentials
That’s because you need to configure this EC2 instance to talk to s3, and there are two ways to do that:
- Give it credentials of the administrator IAM user
- Use roles
1. Configure Credentials:
Type aws configure and give it the access key ID and secret access key:
> aws configure
Access key ID = username
secret access key = password
default region name
default output format = enter.
And now, when we try:
aws s3 mb s3://cupofcodeblog
We made a bucket! And we can see it when we type aws s3 ls.
2. Using Roles
- Create a s3AdminAccess role: Go to AWS Console -> IAM -> Roles. While configuring, you choose that the service that will use this role is EC2.
2. Attach the role to the specific EC2 instance: Go to instances -> tick the one -> actions -> instance settings -> attach or replace IAM role
Now you can ssh into the instance and create a bucket without any problem.
Why Are Roles Better?
Roles are a much safer option than saving credentials on the ec2 instance. With Roles, if someone hacks your ec2 instance — they’ll still have administrative access from this ec2 instance into S3, but they won’t have full admin access to the AWS environment. That means that when we delete the hacked instance — they lost access to the AWS env.
Roles are also easier to manage, simply by adding or modifying policies.
Important note: Roles, like IAM Users, are global and not regional.
That’s it! Wasn’t so hard, was it?

Today we learned about EC2, with all its types and pricing models. We also learned about four storage options and the differences between them. We learned about load balancers and auto-scaling groups and finished with communication through the CLI.
If you read this, you’ve reached the end of the blog post, and I would love to hear your thoughts! Was I helpful? Do you also use AWS at work? Here are the ways to contact me:
Facebook: https://www.facebook.com/cupofcode.blog/
Instagram: https://www.instagram.com/cupofcode.blog/
Email: cupofcode.blog@gmail.com
